
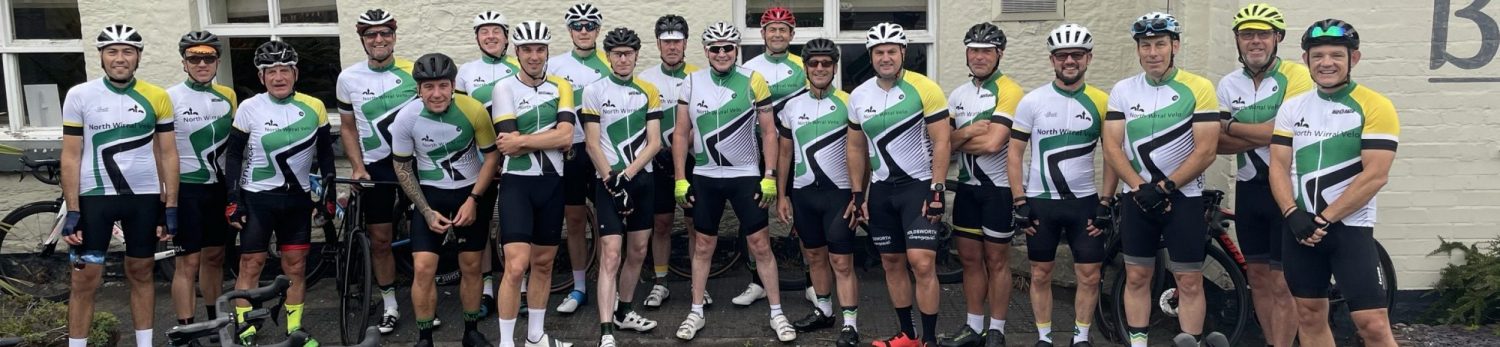
The North Wirral Velo’s first meeting of the bicycle Maintenance And Repair Section (MARS… see what I did there?) was well attended last week. Led by club dad Michael Hurworth, the group went through the basic “M” check that all riders taking to the road should do on a regular basis.
The M Safety Check List for your Bike
Session 1 Wednesday 03/04/2019
The M Safety Check List for your bike is a nose to tail series of checks that follow the form of the letter M. Most checks should be carried out prior to any ride but especially a club ride to ensure not only your own safety but that of the others you are riding with. If you are riding more than 100 miles per week then all checks should be carried out at least once per week, this can be done as part of your cleaning and maintenance routine. Like all repetitive tasks, the more you carry the task out the faster and more proficient that you become at completing the task so this should not be seen as a chore but rather as a demonstration of concern for your own and fellow riders safety and well being.
The beauty of this method of checking your bike is that the only thing you have to remember is the M, you methodically follow the letter (or imaginary orange lines!) checking everything that you come across. No part of the M-check is very technical, you are looking for obvious signs of damage or wear so don’t worry or overcomplicate it.

In this first instalment I shall list the 25 checks* that should be carried out with a basic instructions on what to check and how to perform the check, more detailed instructions for the more complicated adjustment processes will be provided as a separate topic at a later date.
- Front Quick Release Skewer – Quick-releases must be firmly closed and the lever not exposed.
- Hub Bearings – Grasp each rim and rock it from side to side to check for play in the bearings.
- Front Wheel Spokes – Check al the spokes for tension by flexing them in pairs.
- Front Rim – Spin the wheel to check that the rim is true and centred in the forks. Check the Rim Wear Indicator on bikes with rim brakes.
- Front Tyre – Check the tyre pressure and adjust to manufacturer recommended pressure. Ensure the valve is closed and the dust cap is secure. Check the Tread Wear Indicator (TWI if the manufacturer provides). Check the tyre walls for splits.
- Front Brake (Calliper or Disc) – Apply the front brake. Brakes must make contact with the rim before the lever is pulled back more than one third of its travel. Ensure that the brake blocks/pads are not rubbing on the rim/disc when the brake is not applied. Check the blocks/pads are not excessively worn. Adjust or replace if required. Check for any signs of wear or fraying to the cable, or excessive “sponginess” if hydraulic.
- Front Forks – Check for any damage to the front forks.
- Headset – Check if there is any rocking or clicking in the headset. Grasp the head tube with one hand and apply the front brake with the other hand. This will steady the front of the bike so that you can rock the bike back and forth to establish any rocking or clicking in the bearings. Adjust if required.
- Handlebars – Check that your front wheel and stem do not move independently, and that your handlebar clamp bolts are tight. Perform this check by standing in front of the bike, holding the front wheel between your knees, and twisting the handlebars. You can prevent any movement by tightening the stem bolts and the handlebar clamp with a torque wrench tightening to the recommend torque setting.
- Bottom Bracket – Check by trying to rock the cranks from side to side to see if there is any play in the bearings.
- Crankset – Check that both crack arms are tight on the bottom bracket axle.
- Chain Rings – Check for loose bolts, that the rings run true and for any wear on teeth.
- Pedals – Check that the pedals are complete: no missing screws, no excessive wear. Check they are fastened tightly to the cranks.
- Front Dérailleur – Check that the gears shift correctly between the chain rings. Adjust if required. Check for any signs of wear or fraying to the cable.
- Frame Triangle – Check the frame triangle looking for obvious defects including wrinkled paint around where the top tube and down tube meet the head tube.
- Seat Post Pin – Check that the pin is secured and adjusted to the correct torque setting.
- Saddle – Grasp each end of the saddle and try and rock it. It should not move, either up and down or side to side and it should be in line with the top tube.
- Rear Brake (Calliper or Disc) – Apply the rear brake. Brakes must make contact with the rim before the lever is pulled back more than one third of its travel. Ensure that the brake blocks/pads are not rubbing on the rim/disc when the brake is not applied. Check the blocks/pads are not excessively worn. Adjust or replace if required.
Check for any signs of wear or fraying to the cable, or excessive “sponginess” if hydraulic. - Rear Tyre – Check the tyre pressure and adjust to manufacturer recommended pressure. Ensure the valve is closed and the dust cap is secure. Check the Tread Wear Indicator (TWI if the manufacturer provides). Check the tyre walls for splits.
- Rear Rim – Spin the wheel to check that the rim is true and centred in the forks. Check the Rim Wear Indicator on bikes with rim brakes.
- Rear Wheel Spokes – Check al the spokes for tension by flexing them in pairs.
- Rear Hub Bearings – Grasp each rim and rock it from side to side to check for play in the bearings.
- Rear Quick Release Skewer – Quick-releases must be firmly closed and the lever not exposed.
- Rear Triangle – Check for any damage to the rear chain stays and seat stays (the rear triangle of the frame).
- Rear Derailleur – Check that the gears shift correctly up and down the cassette when in either of the chain rings. Adjust if required. Check for any signs of wear or fraying to the cable.
*This list is for guidance only. If you have any doubt as to the condition or performance of any part of your bike and don’t know how to fix/replace it, please seek professional help from your local bike shop, or find a local cycle club with a wealth of cycling knowledge and experience to join and ask the club dad. Please get in touch to learn more about the club and meetings.
And finally, “hey, let’s stay safe out there”
Michael Hurworth
(NWV Club Dad)
Leave a Reply